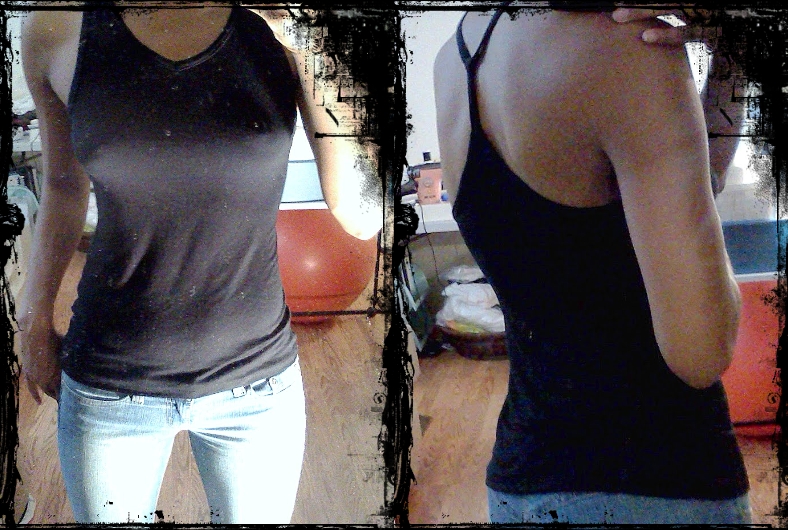
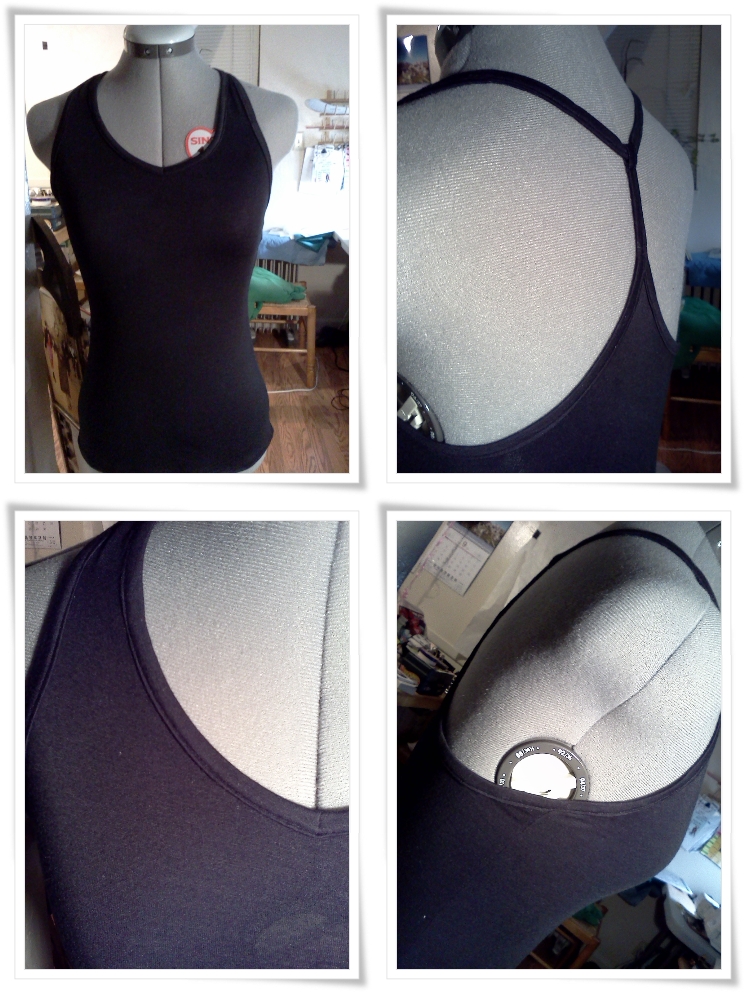
Y-Back Cami - Binding is a B**ch!
Trial and Error this Cami was! The Straps were a B*%^&!! :) I've added my tips below. :)

My Trial and Error:
The binding was sooo hard! I've got my trail and error to share.
- Used a 1/4 inch Seam Allowance
- Used 1/2 inch Hem Allowance
- Cut out with my trusty rotary cutters :)
- Used a 3-thread narrow overlock stitch to sew up the side seams
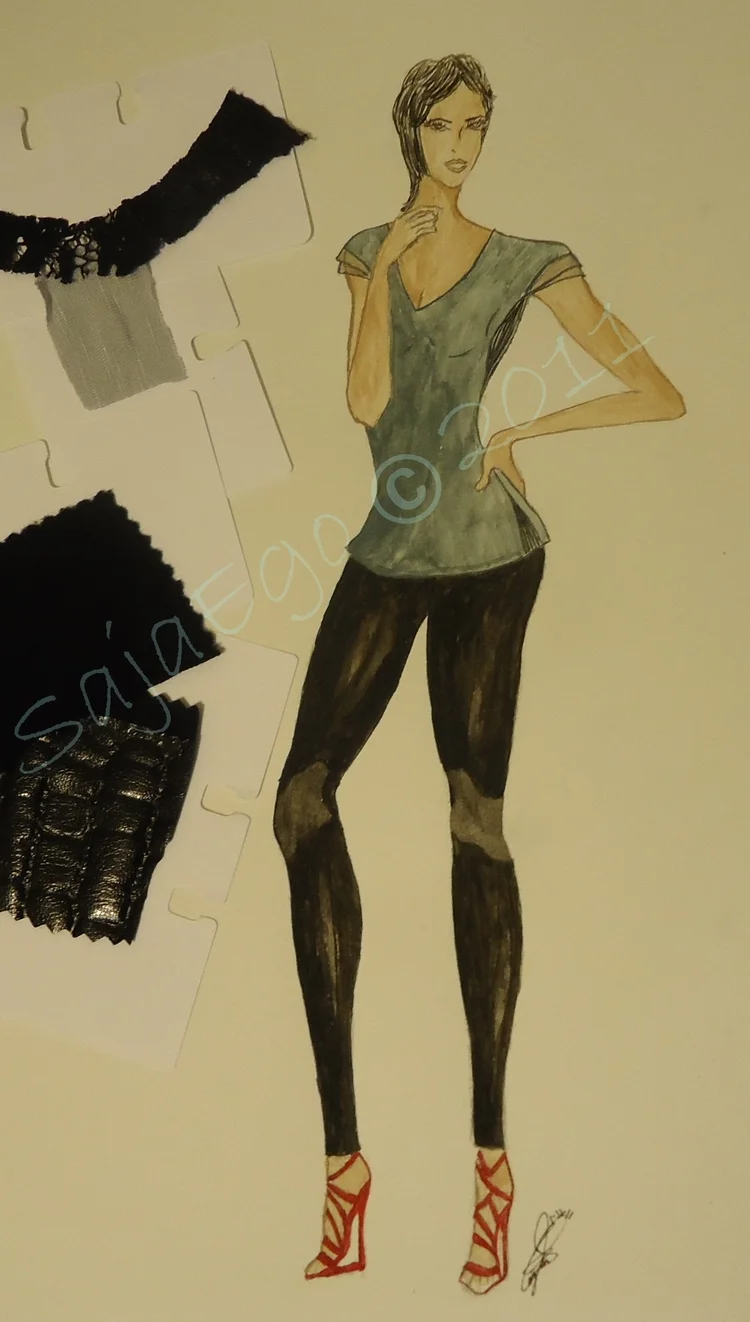
- Fabric used is a Rayon silky Jersey
Binder Foot attachment Attempt:
- I used a Binder foot attachment on my serger. (They have them for regular sewing machines also) It took me a week to figure this thing out. It takes some serious practice. I almost lost my mind a few times. BUT in the end I can see how this foot can make binding a breeze once you get past cursing it out a few times. :)
- I cut binding strips 1+1/8 inches wide
- I cut the strip lengths based on my armhole and neckline measurements plus extra to make the binding also form the straps for the Y and then reduced the measurements by about 10%.
- SOOOo I had to recut the binding SupEr long to give myself enough 'screw up' room. :)
- I used this product I read about called Sulky Tender Touch Stabilizer It's basically like a fusible stretchy tricot interfacing.
- My fabric is so silky and moves all over the place and I needed it to be a little more firm to get it to have a nice neat binding without all the wobbling. So I fused this stuff to my binding strips being careful not to stretch them out.
- The stabilizer worked great. It stretches with the fabric and adds just enough firm to support the stitching but still soft and stretchy.
- I also used it on my hem to give it a little more stability.
- I used the Sewing Divas Binding Tutorial
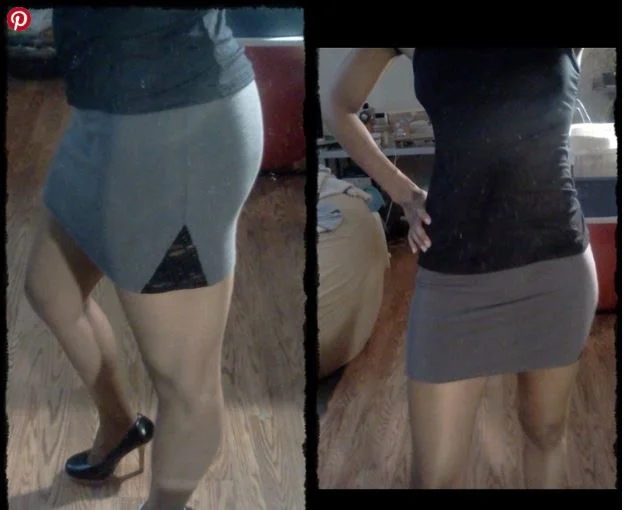
- This attempt worked well. The stitches were consistently straight for the most part but it got tricky binding the triangle part at the shoulder and then having the binding go into a spaghetti strap. I will work on figuring out a No Fail solution to this for the next attempt.
Always My goto TIPS!:
- Iron the seams for a clean look
- Ballpoint machine needles and pins are a must!
- Copying patterns from clothes that already fit perfect make the perfect fitting pattern!
- Rotary Cutter is your best friend!!
- Using a serger/overlock to sew knits. Makes my life easier and allows the seams to stretch.
- Using the 3-thread narrow overlock stitch gives me a nice narrow seam, but using a 4-thread stitch gives you a stronger seam.
- Using the same color thread. It gives it a much more professional look
- I like to use wax paper or tear away stabilizer paper underneath my stitching when I use my regular sewing machine for knits. the paper helps it feed smoothly since knit fabric likes to bunch itself into the feed dog. Then I just tear away the paper.
- Take into account the "Butt Lift" effect that the hem will have for dresses and skirts. Make the hem a little longer in the back to make it even with the hem in the front when the butt lifts the back of the garment up a little. :)
You may also like...